Creating a Fence Garden
What do you think about the idea of a Creating a Fence Garden? I had never heard of it before either until my husband brought the idea to me a few weeks ago.
There’s not a spring that goes by we don’t plant a garden of some sort. And we always have the best of intentions to see it through and enjoy delicious home-grown herbs and veggies. Unfortunately, the hot Texas summers make it a little difficult.
So this year, we wanted to try something different. It’s our hope that a Fence Garden will be easier to care for, more resourceful, and free or critters since it’s off the ground.
I wanted to share our experience throughout the spring and summer, so this Fence Garden series will do just that. Part 1 is on how to build it.
Here’s what you need:
Fence Garden
- 2 – 2 x 6 x 10 pieces of Weather Treated Wood
- 4 Rail Fence Brackets
- 12 – 2 x 3 x 8 pieces of Cedar Wood
- 15 White Shelf Brackets
- Screws
- Plastic Planters (various sizes)
- Plants & Dirt (your choice)
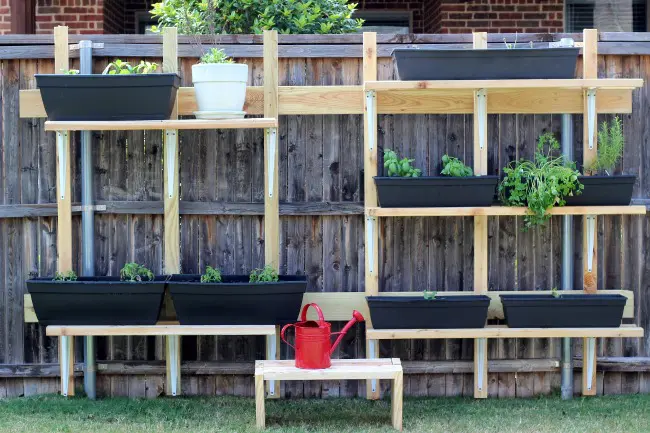
We decided to hang it on the front of the fence so it won’t touch the wood of your fence at all. This way you don’t have to worry about compromising the integrity of the wood.
We used a wood plank that is weather treated. This is the foundation of the fence garden so it needs to be protected from the weather.
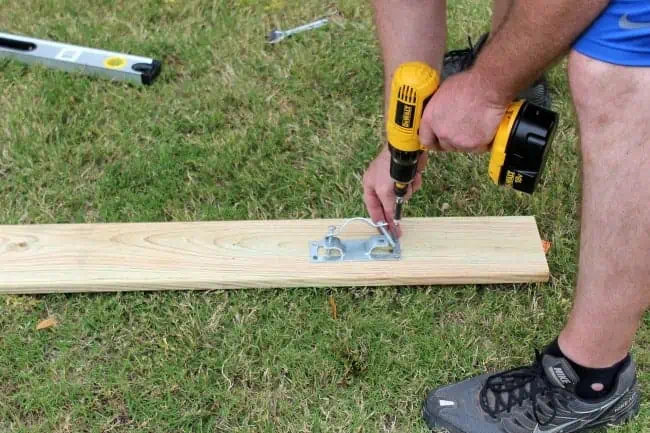
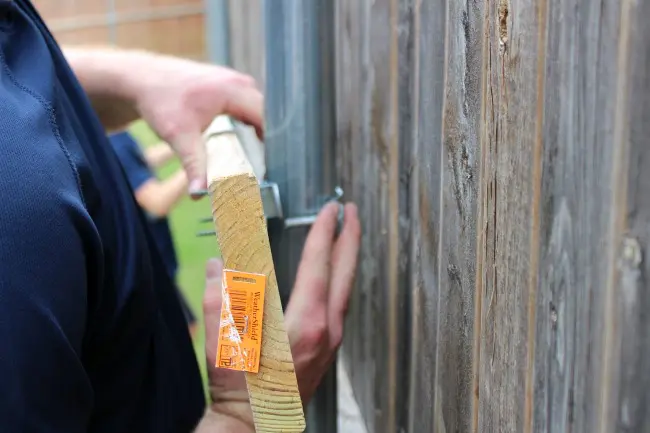
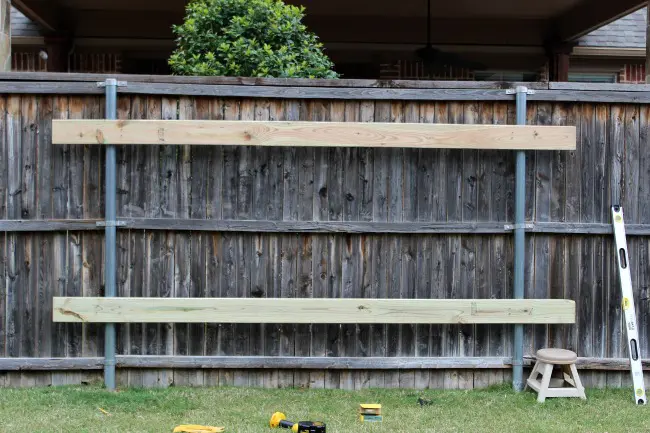
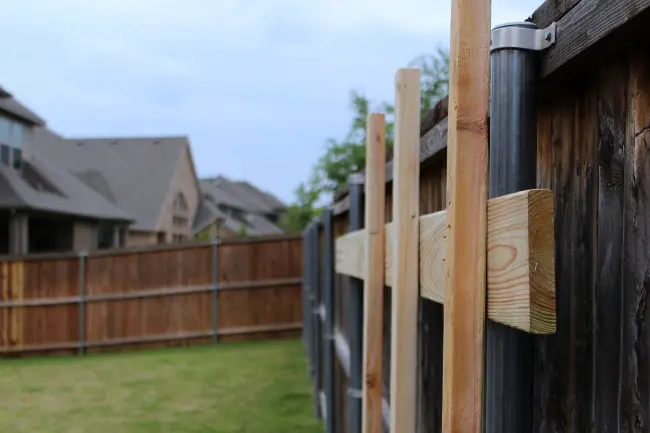
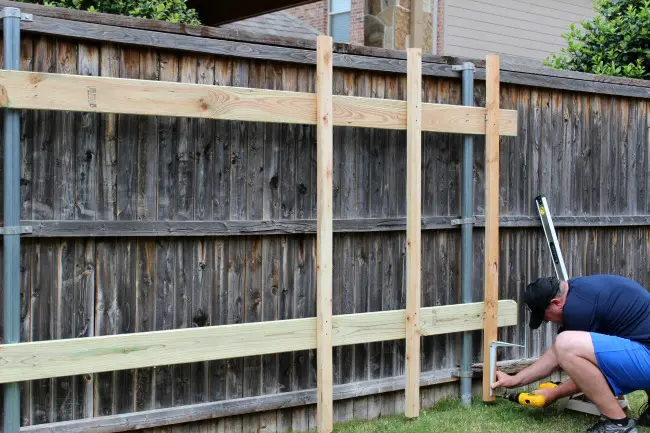
We measured and screwed in a fence bracket into each side of both of our wood planks and hung where we wanted it on the fence.
Then we attached it to your fence post and tightened it.
This gives us our base for fence garden. We specifically used weather treated wood here because it will keep the foundation strong throughout. It’s not a good idea to use weather treated wood that would come in contact with the veggies.
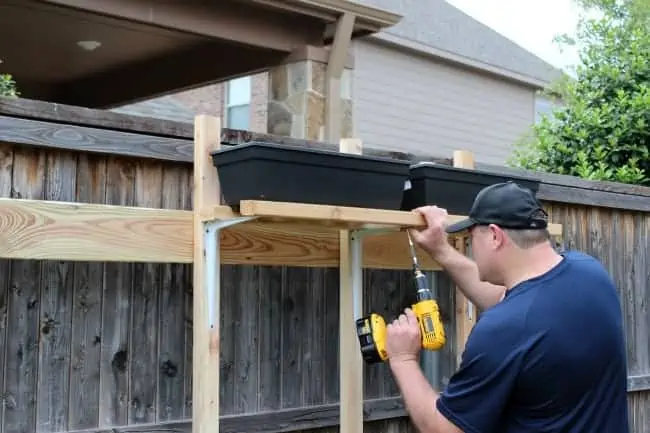
We then cut our cedar planks evenly and screwed each piece into the base wood. We wanted to use cedar on the outside of the fence on each of the shelves so it matched our fence especially once it starts to age.
Originally we were going to make cedar boxes to store the herbs and veggies. But after thinking it through, we thought it would be easier and better for the garden to use plastic containers. This makes it easier to change anything out if we have an ant problem or disease.
So that meant we needed something to hold the plastic containers. We decided to make shelves.
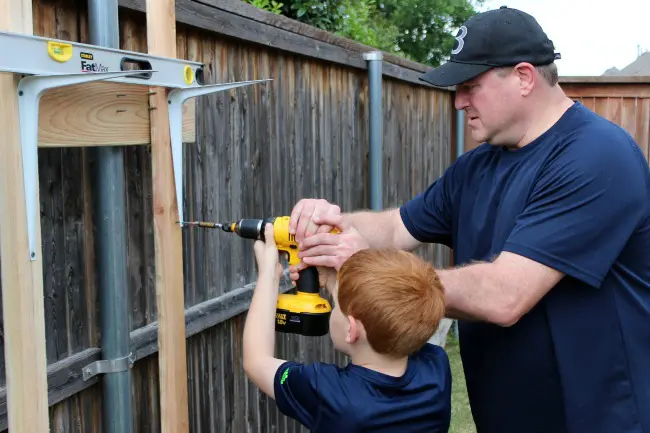
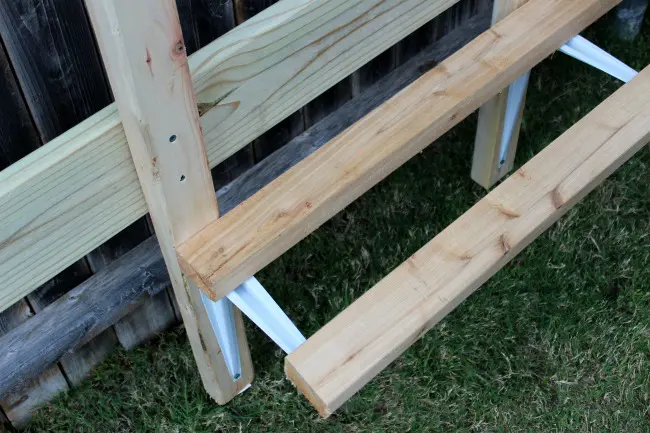
We used these white shelf brackets to support the shelves. These will get screwed into the cedar planks.
We then measured the shelves and cut the wood evenly for the shelf. We screwed these wood shelves into the brackets from underneath.
The nice thing about these plastic containers is that they had feet and holes already drilled in the bottom. So when we measured the shelves, we put the container between the wood to make sure it was tight.
We did have a few bigger containers that didn’t have holes in the bottom so we drilled our own holes. You need a place for the water to drain out so make sure your containers always have holes on the bottom.
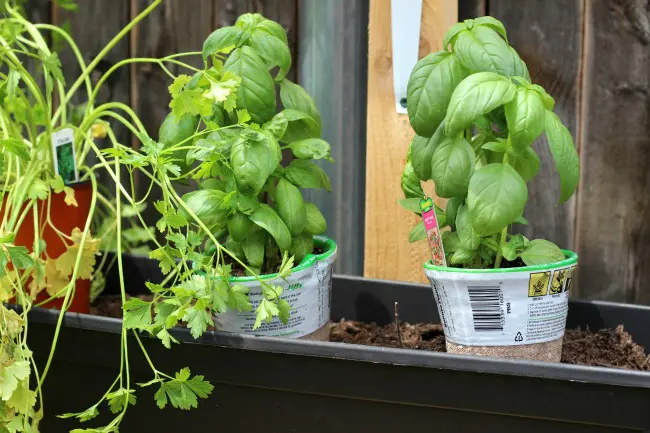
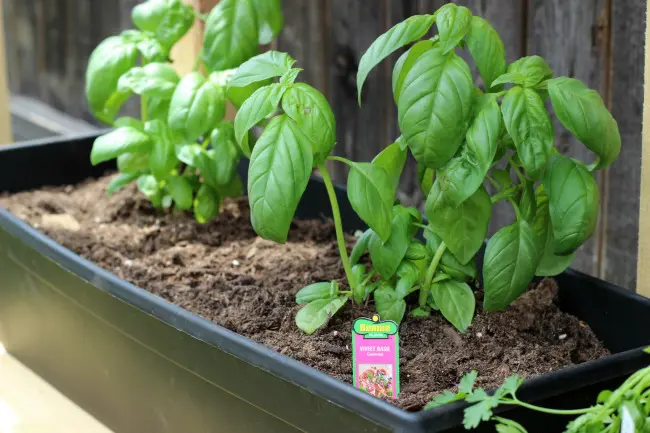
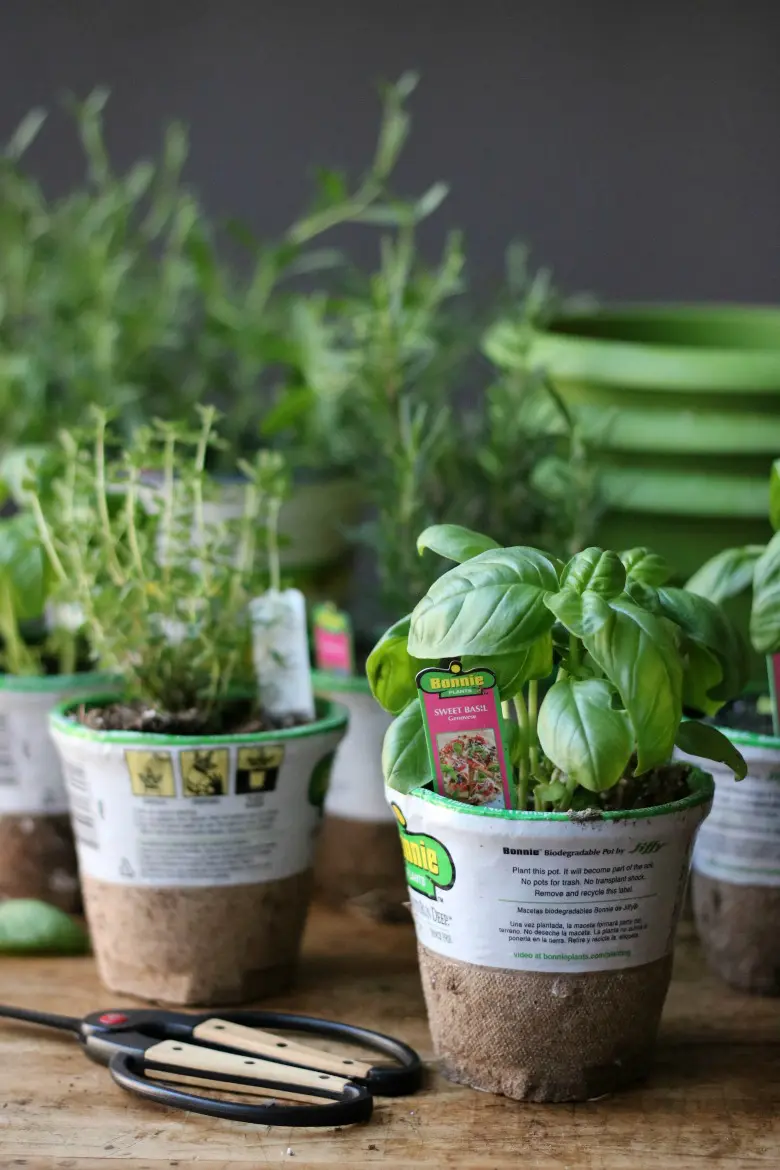
The next step was to start planting. We knew we had some veggies and herbs that grow pretty tall like this basil. So I wanted to make sure we had enough room on top for it to grow.
We tested out the location of all of our plants before planting.
Then we started planting. We mixed our potting soil with some organic humus and manure. This gives the veggies a boost to start growing.
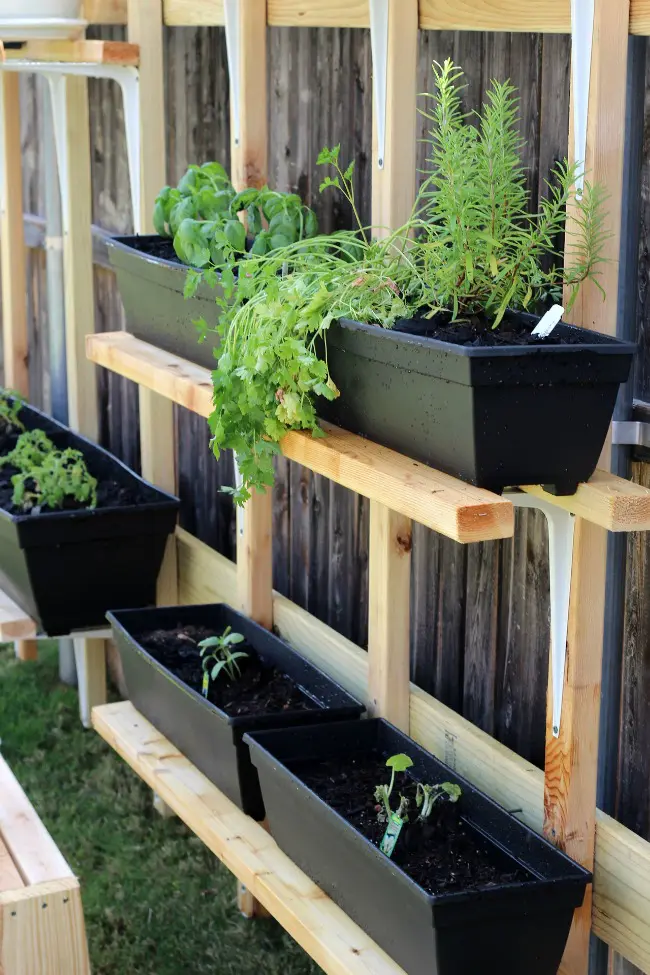
We decided on planting our tomatoes and peppers on the left. We only used two shelves on that side because each will grow pretty tall.
On the right, we put our onions on top. Onions won’t grow too high and will get plenty of sunlight here. Our herbs are on the middle shelf with our vine plants (cucumbers and squash) on the bottom.
And with the open shelves, the water will drip from the top shelves down.
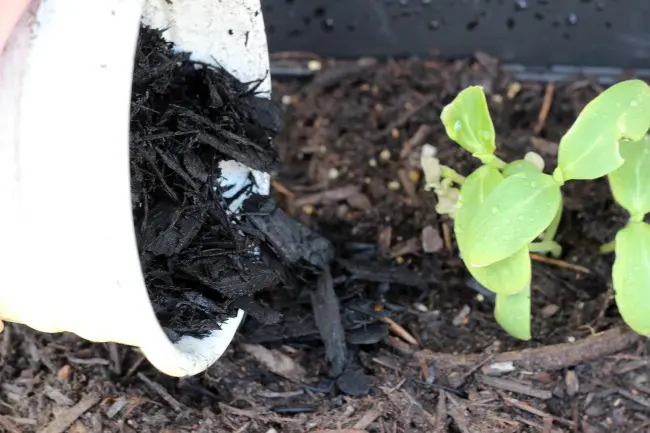
After a good soaking, I added some mulch on top of the plants to keep the moisture in.
So our first Fence Garden is planted and ready to go. I’m hoping to add a few more things to the garden as we get going.
I also love this view from my kitchen. It’s nice to see how everything is growing and a good reminder to spend time checking it every day.
I will keep you updated on how my garden is doing:)
What does your garden look like this season? I would love to hear what you are growing this year?





What a great guide! DIY projects are much easier when you have excellent instructions to follow like this post!
I totally love this. What a wonderful idea. This is a perfect use of space that would go unused. I may have to try this for my yard. Thanks for sharing.
You guys did a great job! It looks awesome!